Do you love your records and listen to them regularly? Do your records crackle even though you remove dust before playing them? Have you ever asked yourself how to keep them clean? Are you annoyed by being asked rhetorical questions? Awesome, then this article is for you. Of course, it’s best if records don’t get very dirty in the first place. That’s why we’ll first look at handling and storing records properly. In the second part we take care of the wet cleaning. We answer questions about when and why you should do wet cleaning. And of course, whether cleaning vinyl records with vinegar is a good idea.
Proper handling of vinyl records
As long as a record only has loose dust on it, you can simply dust it off with a carbon fiber brush. Things become more difficult when the dust sticks. The most common reason for this is fingerprints, which contain both salt and grease. In addition to mechanical damage to the surface, this is the main reason why we only touch records where they don’t contain a groove. These are, on the one hand, the outer edge and, on the other hand, the center which contains the label. Admittedly, this handling requires some practice. Especially after a few drinks, records tend to slip out of your hands. If you’ve been wondering where your HiFi equipment has sharp edges, you’ll find out at the latest on this occasion. If you want to find out more about how a record works, I recommend this article.
Proper storage of vinyl records
It’s obvious and needless to say that records and dust aren’t exactly best friends. Therefore, store your records on a shelf at about chest height. Thanks to gravity, dust sinks to the ground over time and collects there. Directly above or on the floor is therefore not a suitable storage location for your favorite records. Ideally, the shelf has doors that provide additional protection from dust. To avoid deformation of the records, you should store them upright. Also, make sure they don’t put too much pressure on each other. Under no circumstances should you stack records on top of each other. This can cause the records to warp, making them difficult to play.
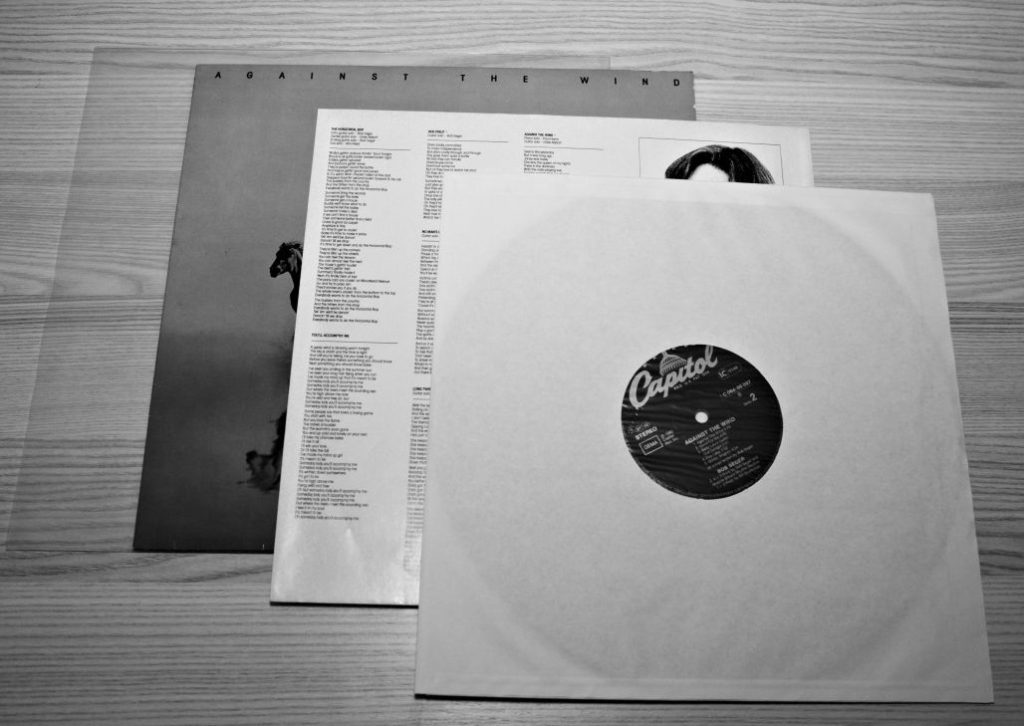
In addition to the printed cardboard album cover, records also need an inner sleeve. These inner sleeves often consist of just plain paper. Since paper is abrasive, mechanical damage to the surface of the record can occur. The paper can also contain additives that chemically harm the plastic. Inner covers with an additional thin plastic film solve these problems. If you care about your records, you should definitely treat them to this type of inner sleeve. To further protect the record from dust, I recommend an additional outer cover made of (transparent) plastic. The combination of outer sleeve, album cover and inner sleeve certainly ensures very careful and relatively easy storage.
Cleaning vinyl records: Why and when?
As described above, I do not consider removing dust with a carbon fiber brush as cleaning vinyl records. Rather, this habit is part of the ritual of listening to records. According to my understanding, the actual cleaning of vinyl records involves a liquid. We always apply this procedure if a crackling noise remains audible despite the dust removal. Even if handled carefully, stubborn dust can get stuck in the groove due to static electricity, which we can no longer easily remove. Expect to wet-clean your records after one to two dozen plays. Once fingerprints come into play, we won’t have a choice anyway.
Requirements for a cleaning fluid
When looking for a suitable cleaning liquid, let’s first put together the requirements:
- Must not chemically damage the record (PVC)
- Must be able to dissolve dust, grease and salt (the last two represent fingerprints)
- Should be safe to handle (who wants to set up a high security lab just to clean their records)
- The ingredients should be easily available e.g. in the supermarket
- Ideally, the costs should be kept within limits
As you probably guessed from the title of this article, vinegar meets all of these requirements excellently. It does not chemically damage PVC and, according to Wikipedia, dissolves salt in the same way it dissolves oil (and therefore grease). So, yes: Cleaning vinyl records with vinegar is a very good idea. We’ll look at exactly how we do this in the next paragraph.
How to clean vinyl records with vinegar
Preparation
Before we roll up our sleeves, let’s take a quick look at the required items.
- White vinegar (clear white ~5% acetic acid, avoid cloudy varieties like apple cider vinegar, as they leave a residue)
- Distilled water
- 2 clean microfiber cloths (one for cleaning solution, one for distilled water)
- 1 large tea towel
- 2 clean spray bottles (one for cleaning solution, one for distilled water)
- Optional: Rinse aid (that stuff for the dishwasher)
For the cleaning liquid, we mix the vinegar in equal parts with distilled water. As a result we want to get a ~2.5% solution. If your vinegar has a higher acid content, you will need to dilute it accordingly. If you like, you can also add just a few drops (!) of rinse aid. It reduces the surface tension of the cleaning solution and makes it easier to penetrate deep into the groove. We fill this solution into a clean spray bottle. To rinse after cleaning, we fill the other spray bottle with pure distilled water. Both the cleaning solution and the distilled water should be at room temperature. Next, we lay out the tea towel on a clean surface.
The cleaning process
After we have used the carbon fiber brush to remove loose dust from the record as best we can, we place it on the tea towel (the record, not the brush). We start cleaning by spraying the cleaning solution thinly onto the record. An even film should be created without excessive solution running down. We let the solution sit for a few minutes so the vinegar can beat the crap out of the fat and salt. To avoid making things worse, make sure the solution doesn’t dry. Finally, we wipe up the cleaning solution with a clean microfiber cloth in circular movements. While some people stop here, I like to add a rinsing step at the end.
To do this, we spray the distilled water thinly onto the record in the same way as the vinegar solution. We let it soak briefly again and then wipe it up in circular movements with the second clean microfiber cloth. We repeat these steps for the B-side and let the record dry completely. Last but not least, we then use our carbon fiber brush to remove any possible fibers and get a clean and shiny vinyl record as a result. Quite simple, right?
Cleaning vinyl records with vinegar – Conclusion
As we have seen, cleaning vinyl records with vinegar is very simple and yet extremely effective. Of course, you can vacuum the solution and achieve even more thorough results. As is often the case, everyone has to find out the optimal ratio of effort to benefit for themselves. At this point I would still like to admit one disadvantage of cleaning vinyl records with vinegar. You’ve probably already found out for yourself: Not everyone likes the smell of vinegar and I can’t exempt myself from that. It’s just like with babies: every now and then you have to be prepared to put up with bad smells. But in the end you will be rewarded with unconditional love.